
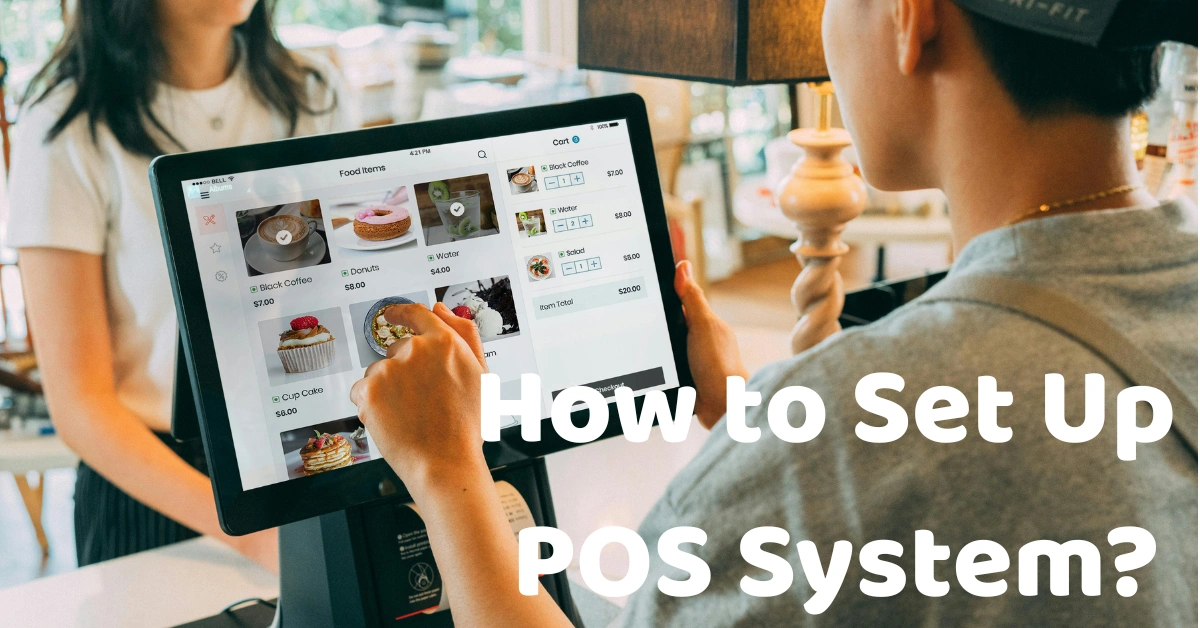
Setting up a Point of Sale (POS) system might sound complicated, especially if you're setting up one for the first time. There are several things to consider, from choosing the right software and connecting your hardware to adding products, configuring payments, setting up employees, and testing everything before opening your doors.
The good news is that you don't have to be a technology expert to get started.
A properly configured POS system can make everyday business operations much easier. Instead of manually recording sales, counting inventory, and preparing reports, your POS can handle much of this work automatically.
Whether you're opening a restaurant, café, grocery store, pharmacy, retail shop, or another type of business, this guide will walk you through how to set up a POS system step by step.
What Is a POS System?
A Point of Sale system is a combination of software and hardware used to process customer transactions and manage business operations.
At its most basic level, a POS records a sale. But modern POS systems can do much more.
Depending on the solution you choose, a POS system can help with:
- Sales processing
- Inventory management
- Employee management
- Customer management
- Payment processing
- Sales reporting
- Product management
- Multi-branch operations
- Business analytics
For example, when a customer purchases a product, the POS can record the transaction and automatically deduct the item from inventory. At the end of the day, you can review your sales without manually adding up every receipt.
That's one of the biggest reasons businesses move away from manual sales tracking.
Connected Topic: What is POS?
What Do You Need Before Setting Up a POS System?
Before you start installing anything, spend some time preparing.
A little preparation can prevent a lot of headaches later.
Choose the Right POS Software
Start by identifying what your business actually needs.
A restaurant will have different requirements from a pharmacy or clothing store. A restaurant may need table management and kitchen integration, while a retail store may prioritize barcode scanning and inventory management.
Consider features such as:
- Sales management
- Inventory tracking
- Reporting
- Employee management
- Multi-branch management
- Customer management
- Payment integrations
- BIR-related compliance requirements
Don't choose a POS simply because it has the longest list of features. Choose one that fits your actual workflow.
Check Divergent POS System Pricing to learn more.
Prepare Your POS Hardware
Your hardware will depend on your business and the POS software you're using.
Common POS hardware includes:
- POS terminal or computer
- Touchscreen monitor
- Barcode scanner
- Receipt printer
- Cash drawer
- Customer display
- Payment terminal
Restaurants may also need kitchen printers or a Kitchen Display System (KDS).
List of POS Hardware of Divergent POS.
Learned more about Restaurant POS and Modules of Kitchen Display System.
Prepare Your Business Information
You'll also need information to configure your system.
This may include:
- Business name
- Business details
- Products
- Prices
- Product categories
- Inventory quantities
- Employee information
- Supplier information
- Discounts
- Taxes
If you have hundreds or thousands of products, preparing your product list before setup can save considerable time.
How to Set Up a POS System Step by Step
Now let's get into the actual setup.
Step 1: Install or Activate Your POS Software
Once you've selected your POS provider, install the software or activate your account according to the provider's instructions.
Create your administrator account and secure it with a strong password.
The administrator account should generally be used only by authorized personnel because it may provide access to important business settings.
If you're working with a POS provider that handles installation for you, this stage may be completed as part of the implementation process.
Step 2: Connect Your POS Hardware
Next, connect the hardware you'll use at checkout.
Depending on your setup, this can include:
- Monitor
- POS terminal
- Barcode scanner
- Receipt printer
- Cash drawer
- Payment device
Don't wait until opening day to test everything.
Run a test receipt through the printer. Scan a product with the barcode scanner. Open and close the cash drawer.
It sounds simple, but discovering that your receipt printer doesn't work when you already have customers waiting is definitely something you want to avoid.
Step 3: Configure Your Business Information
Enter your business information into the POS.
You'll usually configure settings such as:
- Business name
- Address
- Contact information
- Currency
- Tax settings
- Receipt information
- Store or branch details
If your business has multiple locations, configure each branch carefully.
Accurate business information is important because these details can appear on receipts and reports.
Step 4: Add Your Products and Services
Now it's time to build your product catalog.
For each product, you may need to enter:
- Product name
- SKU
- Barcode
- Category
- Selling price
- Cost
- Tax settings
- Product variations
For example, a clothing store may have the same shirt in several sizes and colors. A café may have different drink sizes and add-ons.
Organizing products into clear categories makes the POS easier for employees to use.
Instead of scrolling through hundreds of products, they can quickly navigate to the appropriate category.
Step 5: Set Up Your Inventory
After adding products, enter your current stock quantities.
For example:
Product: Bottled Water
Current Stock: 150 units
Minimum Stock: 30 units
As sales are recorded, inventory can automatically decrease.
This is particularly useful for businesses that handle a large number of products.
Before going live, take time to verify your opening inventory. If you enter incorrect quantities at the beginning, your inventory reports may remain inaccurate until the problem is corrected.
Step 6: Configure Payment Methods
Next, configure the payment methods your business accepts.
Depending on your setup, this could include:
- Cash
- Credit cards
- Debit cards
- E-wallets
- Other digital payment methods
Make sure every payment method is tested.
Run test transactions where possible and confirm that the amounts are recorded correctly.
Payment reconciliation becomes much easier when your POS records transactions consistently.
Step 7: Create Employee Accounts
Avoid giving everyone administrator access.
Instead, create individual employee accounts and assign appropriate permissions.
For example:
Cashier
- Process sales
- Accept payments
- Print receipts
Supervisor
- Approve certain discounts
- Process returns
- Review selected reports
Administrator
- Manage system settings
- Manage users
- Access advanced reports
Individual accounts also make it easier to identify who processed particular transactions.
Step 8: Configure Discounts and Promotions
If your business offers discounts or promotions, set them up before launch.
Examples include:
- Promotional discounts
- Product bundles
- Percentage discounts
- Fixed-amount discounts
- Senior Citizen discounts
- PWD discounts
For businesses in the Philippines, make sure applicable discounts and tax treatments are configured appropriately based on current requirements.
Don't simply assume that your POS's default settings are correct for your business. Review them carefully with your provider or qualified adviser.
Step 9: Configure Receipts and Transaction Settings
Review how your receipts and transaction records are generated.
Check:
- Business information
- Receipt details
- Transaction numbering
- Discount information
- Payment method
- Tax information
Print several test receipts and review them carefully.
A five-minute review before launch can prevent repeated errors on hundreds of transactions.
Step 10: Set Up Sales and Inventory Reports
One of the biggest advantages of a modern POS is reporting.
Depending on the system, you may have access to reports such as:
- Daily sales
- Product sales
- Inventory
- Employee performance
- Payment summaries
- Branch performance
- End-of-day reports
Configure the reports you'll actually use.
There's no need to generate dozens of reports if you only need five to run your business effectively.
Step 11: Test the Entire POS System
This step is extremely important.
Before going live, simulate real transactions.
Test:
- Cash sales
- Card payments
- Digital payments
- Barcode scanning
- Discounts
- Returns
- Receipt printing
- Inventory deductions
- Cash drawer operation
- Reports
For a restaurant, also test the entire order flow from the cashier or kiosk to the kitchen.
The goal is to find problems while you're still in the setup stage—not when customers are already waiting.
Step 12: Train Your Employees
A POS system can be well-designed, but it won't help much if your employees don't know how to use it.
Training should cover:
- Logging in
- Processing sales
- Scanning products
- Applying discounts
- Accepting payments
- Printing receipts
- Processing returns
- Handling basic errors
- Closing shifts
It's also useful to create simple internal instructions for common situations.
For example:
"What should I do if the receipt printer stops working?"
"What happens if a customer wants to cancel an order?"
Having clear procedures helps employees respond confidently instead of immediately calling the owner every time something goes wrong.
How to Set Up a POS System for Different Businesses
The setup process is generally similar, but specific requirements vary by industry.
Restaurant POS Setup
Restaurants often need more than basic checkout functionality.
Consider configuring:
- Menu items
- Tables
- Modifiers
- Add-ons
- Kitchen Display System
- Order types
- Delivery management
- Discounts
A restaurant POS should connect front-of-house ordering with kitchen operations as efficiently as possible.
Divergent POS has a Restaurant package too. Learn More about Restaurant POS and Other packages.
Retail POS Setup
Retail businesses typically focus heavily on inventory.
Important setup tasks include:
- Product catalog
- SKUs
- Barcodes
- Product variations
- Suppliers
- Stock quantities
- Purchase orders
- Returns
Divergent POS has a Retail package too. Learn More about Retail POS and Other packages.
Grocery POS Setup
Grocery stores can have thousands of products, so careful product and barcode setup is particularly important.
You'll want to verify:
- Barcode information
- Product prices
- Units of measurement
- Stock quantities
- Promotions
- Supplier information
Divergent POS has a Grocery package too. Learn More about Grocery POS and Other packages.
Pharmacy POS Setup
Pharmacies have specialized inventory requirements.
Depending on the system, setup may include:
- Product information
- Batch tracking
- Expiration dates
- Stock levels
- Supplier information
- Sales records
Accuracy is especially important when managing products with expiration dates.
Divergent POS has a Pharmacy package too. Learn More about Pharmacy POS and Other packages.
Café POS Setup
Cafés often need quick ordering and flexible product customization.
Setup may include:
- Drink sizes
- Flavors
- Add-ons
- Food items
- Combos
- Promotions
- Customer loyalty programs
Divergent POS has a Cafe package too. Learn More about Cafe POS and Other packages.
POS System Setup and BIR Compliance in the Philippines
For businesses in the Philippines, BIR-related requirements should be considered when selecting and configuring a POS system.
Depending on the business and applicable requirements, businesses may need to properly manage sales records, receipts or invoices, reports, and other transaction documentation.
Some POS systems may also provide functions such as:
- Z-readings
- X-readings
- Electronic journals
- Sales reporting
- Discount documentation
However, compliance requirements can change, so businesses should verify their current obligations with the BIR or a qualified tax professional and ensure their POS provider supports the applicable requirements.
Connected Topic : BIR Compliance
How Divergent POS Can Help Set Up Your POS System
Setting up a POS doesn't always have to be a DIY project.
For businesses that want professional assistance, Divergent POS can help with POS implementation and configuration.
A professional setup can include assistance with:
- POS software configuration
- Hardware installation
- Product setup
- Inventory configuration
- Payment setup
- Employee accounts
- Reporting
- Staff training
- Technical support
Divergent POS provides solutions for different industries, including restaurants, cafés, retail stores, grocery businesses, pharmacies, and other Philippine businesses.
This can be particularly helpful if you're setting up a POS system for the first time or moving from manual processes to a more organized digital system.
How Long Does It Take to Set Up a POS System?
There's no single answer.
A small business with 50 products and one checkout station may be able to complete setup relatively quickly.
A restaurant with hundreds of menu combinations, kitchen integration, multiple payment methods, and several terminals will naturally take longer.
A multi-branch business may require even more planning.
The most important thing is not to rush.
It's better to spend an extra day checking your product catalog, inventory, payments, and reports than to discover errors after your system is already processing real customer transactions.
Common POS Setup Mistakes to Avoid
Entering Incorrect Product Information
Incorrect prices, SKUs, or product names can create problems at checkout and in reports.
Skipping Hardware Tests
Always test scanners, printers, cash drawers, and payment devices before launch.
Giving Everyone Administrator Access
Use employee roles and permissions to protect important system settings.
Forgetting to Configure Discounts
Incorrect discount settings can result in incorrect transaction totals.
Not Testing Payment Methods
Never assume a payment method works simply because it's connected.
Test it.
Failing to Train Staff
Employees should know the basic POS workflow before the first customer arrives.
Ignoring Backups and Security
Protect your administrator accounts and follow appropriate backup and security procedures.
POS System Setup Checklist
Before going live, make sure you've completed the following:
- POS software installed and activated
- Business information configured
- POS hardware connected
- Products added
- Prices verified
- Barcodes tested
- Opening inventory entered
- Payment methods configured
- Employee accounts created
- User permissions assigned
- Discounts configured
- Receipts tested
- Reports reviewed
- Test transactions completed
- Staff trained
- Compliance requirements reviewed
- Backup and security procedures established
Frequently Asked Questions About Setting Up a POS System
How do I set up a POS system?
Start by choosing the right POS software, preparing your hardware and business information, adding products and inventory, configuring payments and employees, and testing the entire system before going live.
What equipment do I need for a POS system?
Common equipment includes a POS terminal or computer, touchscreen monitor, barcode scanner, receipt printer, cash drawer, and payment terminal. Your exact requirements depend on your business.
Can I set up a POS system myself?
Yes, many POS systems are designed for self-setup. However, businesses with complex inventory, multiple branches, payment integrations, or specialized requirements may benefit from professional installation and support.
Do I need an internet connection for a POS system?
It depends on the POS solution. Some systems require internet connectivity for certain functions, while others support offline transactions and synchronize data once connectivity returns.
How long does a POS setup take?
Setup time depends on the size and complexity of your business. A simple setup may be completed quickly, while restaurants, large retailers, and multi-branch businesses may require more extensive configuration and testing.
Can Divergent POS help with POS installation?
Yes. Businesses can work with Divergent POS for POS implementation, configuration, hardware setup, training, and ongoing technical support, depending on the selected solution and requirements.
Final Thoughts
Setting up a POS system is about more than plugging in a computer and opening the software.
You need to make sure your products, prices, inventory, payment methods, employees, discounts, reports, and hardware are all configured correctly.
Most importantly, test everything before going live.
A few hours spent preparing and testing your POS can save you from transaction errors, inventory problems, frustrated employees, and unhappy customers later.
If you want to simplify the process, working with an experienced POS provider can make implementation much easier. For Philippine businesses looking for a POS solution with features for sales, inventory, reporting, employee management, and industry-specific operations, Divergent POS is worth considering.
If you're ready to set up a POS system for your business, request a Divergent POS demo and learn how the right POS solution can make your daily operations more efficient.
